App Guide
How Amorpher Works
A concise guide to Amorpher's interface model: layers, selected objects, contextual controls, editing modes, animation, recording, export, and project files.
Workspace Model
Working with Amorpher
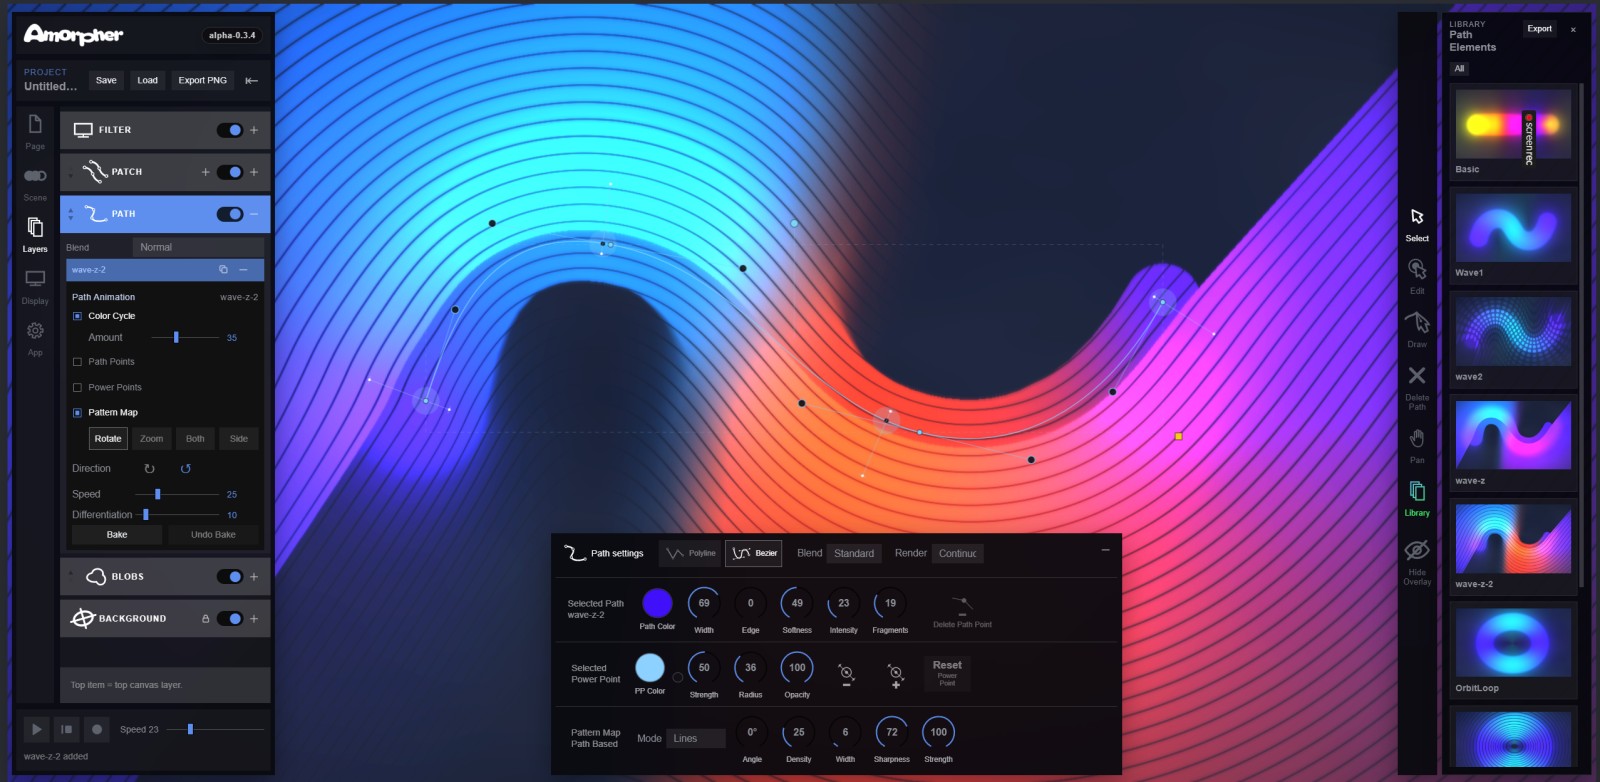
Amorpher is controlled through layers, selected objects, and contextual settings. Instead of working through long command menus, the interface changes according to the selected layer, selected object, and editing mode.
- Set the page or scene format.
- Choose a working layer.
- Add or select an object.
- Use Select Mode for whole-object transforms.
- Use Edit Mode for internal structure.
- Animate the scene if needed.
- Export an image, record a video, or save the project.
Most controls in Amorpher are direct and visual. When an object is selected, the relevant settings appear in the interface. When another layer or object is selected, the controls change accordingly.
Format
Page Settings
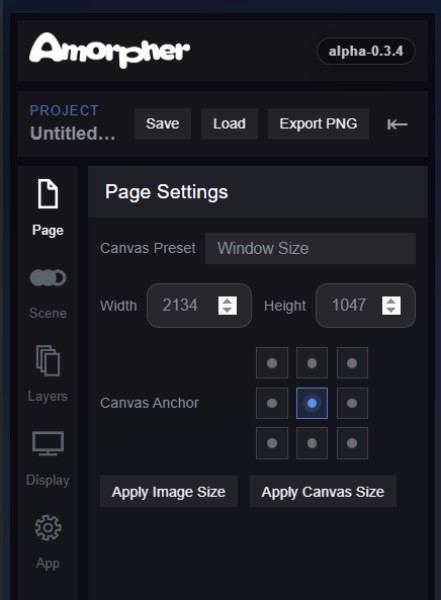
Page Settings define the working format of the project. They control the canvas size, aspect ratio, and resolution used for building the composition and preparing final output.
These settings are especially important because Amorpher supports high-resolution image export and high-resolution video recording. The page format defines the frame in which the composition is built and the dimensions used when exporting PNG images or recording WebM video.
Page Settings are useful for preparing square compositions, wide layouts, vertical formats, social-media outputs, or custom canvas sizes.
Scene
Scene Settings
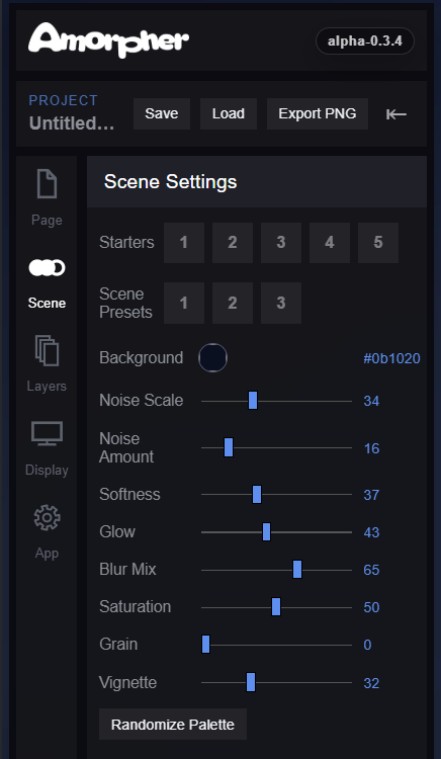
Scene Settings control the overall visual foundation of the composition. This panel includes starter compositions, scene presets, background color, and scene-wide rendering controls.
Unlike object settings, these controls do not affect a selected blob, path, or patch individually. They shape the base atmosphere and visual behavior of the entire composition.
Scene Settings can be used to adjust Noise Scale, Noise Amount, Softness, Glow, Blur Mix, Saturation, Grain, and Vignette, as well as to apply preset scene states or randomize the overall palette.
Layers
Working Layers
Amorpher is organized around working layers. Each layer has a clear role in the composition. Selecting a layer determines which objects and tools are currently active.
- Background - The visual base of the scene, including color, atmospheric fields, and image-based backgrounds.
- Blobs - Soft fields of color and light for glowing masses, atmosphere, depth, and broad visual movement.
- Paths - Editable Polyline or Bezier curves with gradients, variable width, power points, pattern-maps, animation, and render styles.
- Gradient Patches - Rail-based mesh-gradient surfaces and line fields built from editable rails.
- Filters - A post-process layer that can rearrange, slice, distort, or restructure the rendered canvas.

Editing Modes
Select and Edit Modes
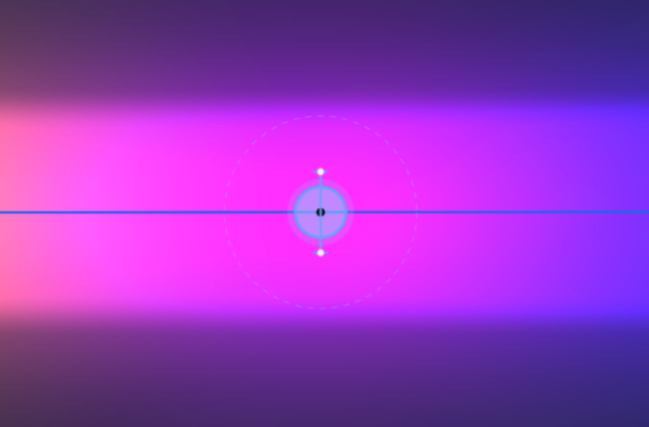
Most object layers use two basic editing modes: Select and Edit.
Select Mode is used for working with whole objects. In Select Mode, an object can usually be selected, moved, scaled, rotated, or transformed as a complete unit.
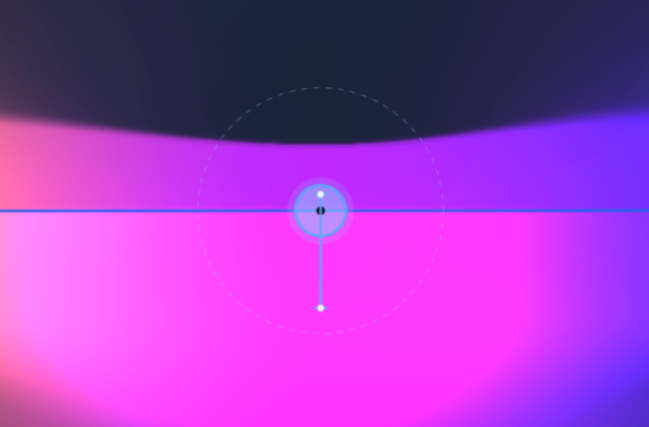
Edit Mode is used for working inside an object. Depending on the object type, Edit Mode may expose path points, Bezier handles, rails, power points, color stops, local width, strength, falloff, or other internal controls.
Select Mode changes the object as a whole. Edit Mode changes the structure inside the object.

Object Layer
Blobs
Blobs are soft visual fields of color and light. They can be used to create glowing forms, atmospheric masses, spatial depth, soft gradients, and moving light bodies.
A blob can be positioned, scaled, colored, softened, intensified, blended, and animated. Blobs are often the fastest way to build a visual atmosphere in Amorpher.
They are less structural than paths or patches, but they are useful for creating luminous energy, background motion, and soft relationships between objects.

Object Layer
Paths
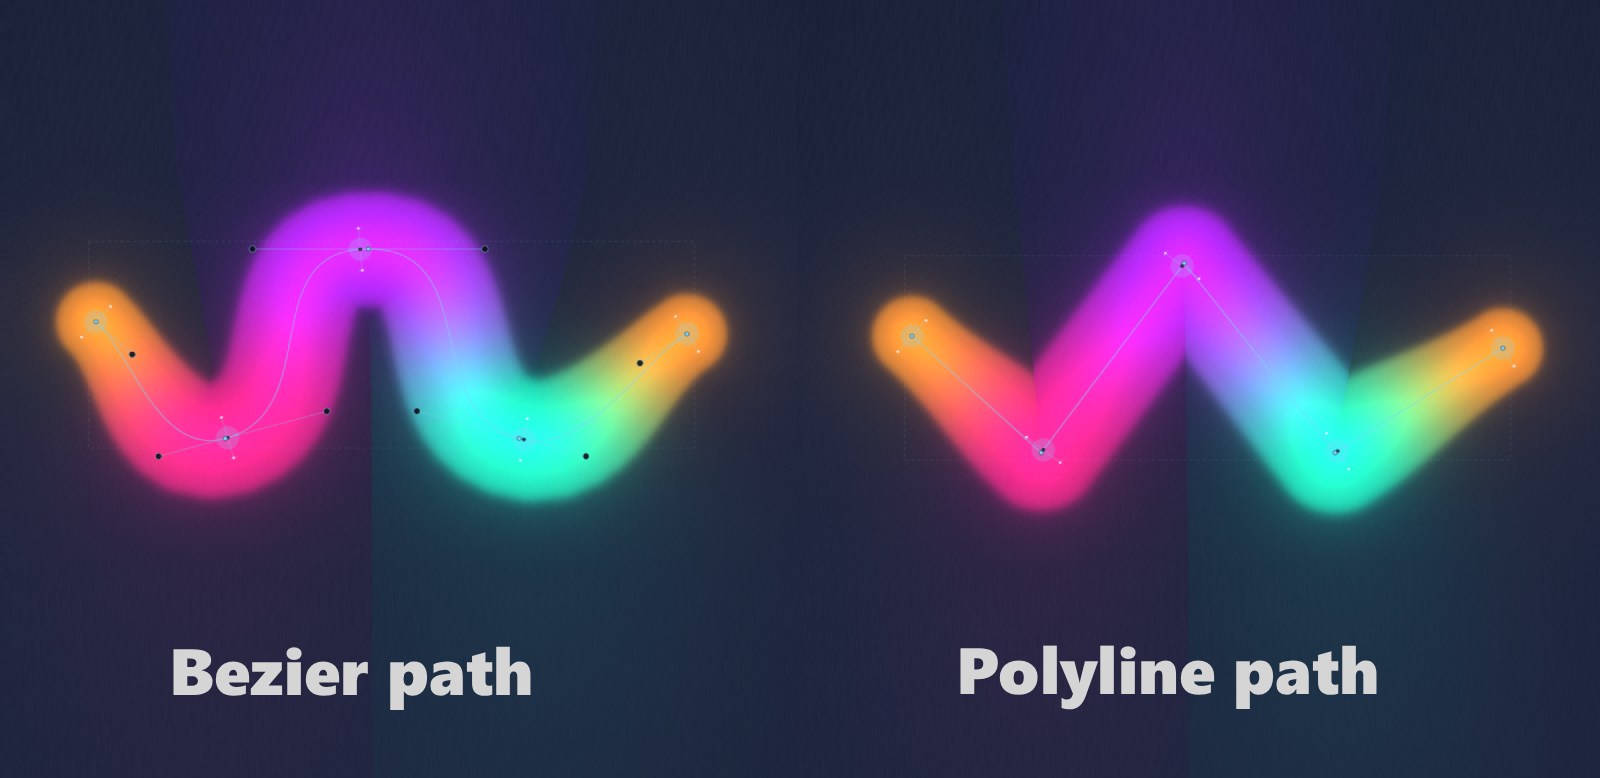
Paths are editable Polyline or Bezier curves with powerful rendering flexibility. A path can carry controlled gradients along its length, variable width, local intensity, power points, animation, pattern-maps, and different render styles.
Path Points
Path points define the shape of the curve. Polyline paths are built from straight segments. Bezier paths use handles to create curved motion, arcs, and flowing forms.
Power Points
Power points control the visual behavior along the path. They can affect color, local width, strength, opacity, and asymmetric blur or spread along the curve.
This allows a single path to expand, narrow, soften, sharpen, or shift color at different positions.
Pattern-maps
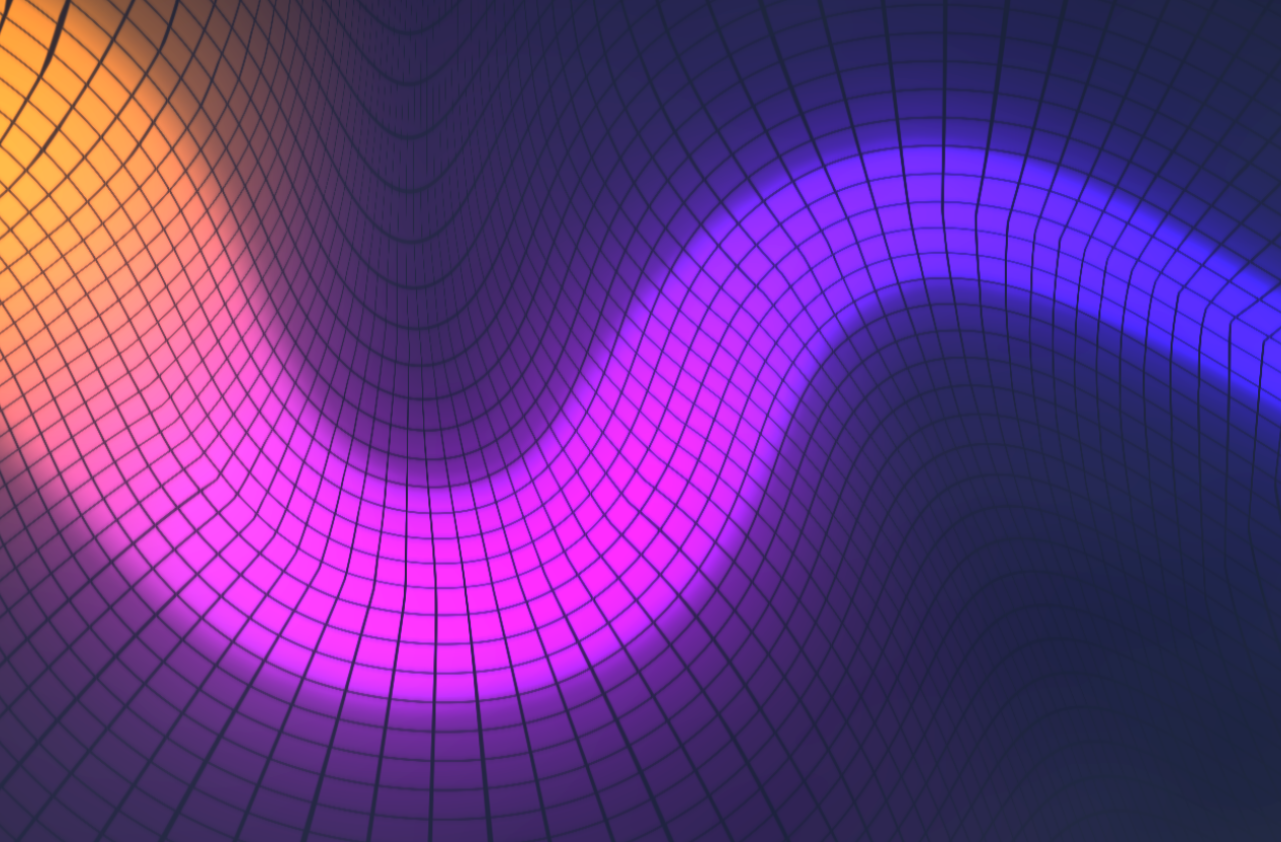
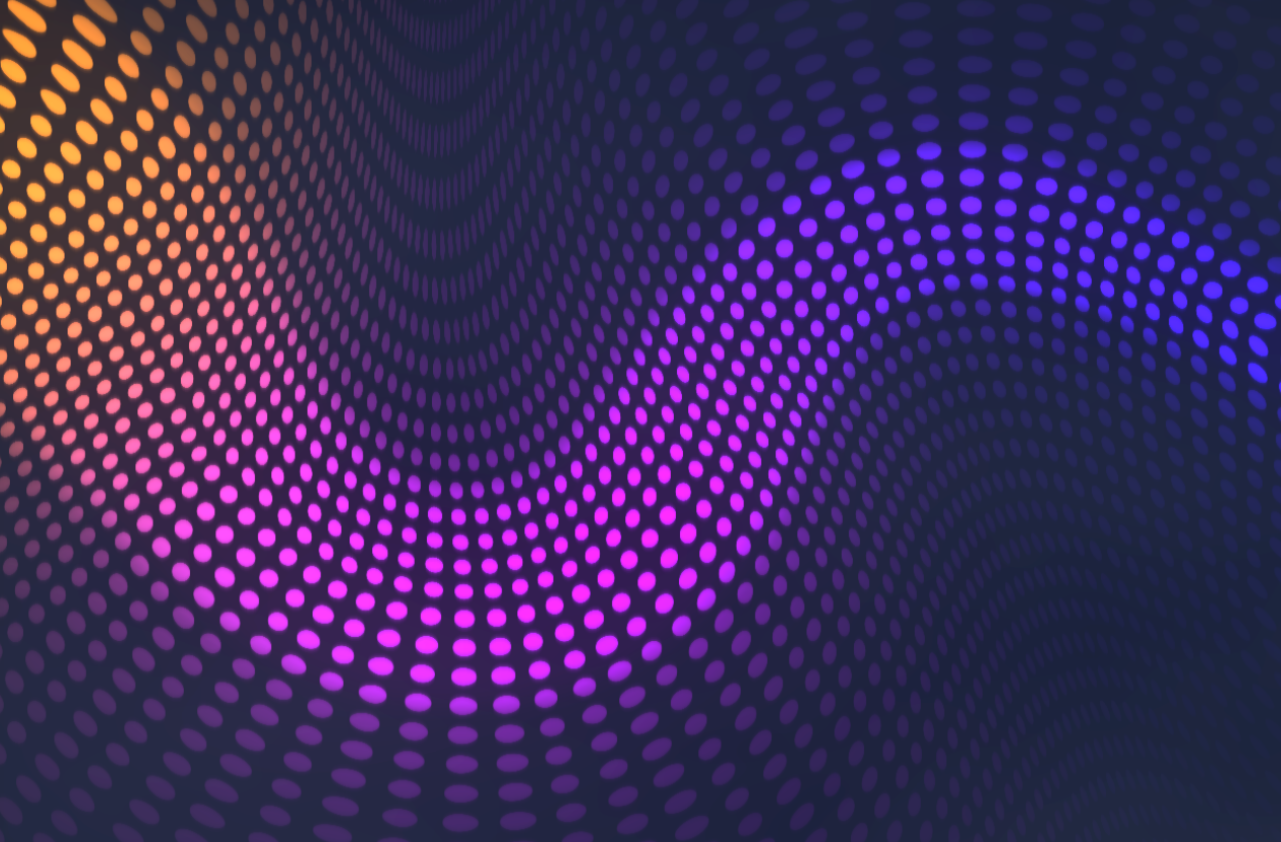
Pattern-maps apply procedural or custom graphic maps to the rendered path. Built-in modes can include grids, lines, rings, and dots. Custom black-and-white maps can also be uploaded and used as pattern sources.
A pattern-map follows the path's shape and motion, adding internal structure to the rendered form.
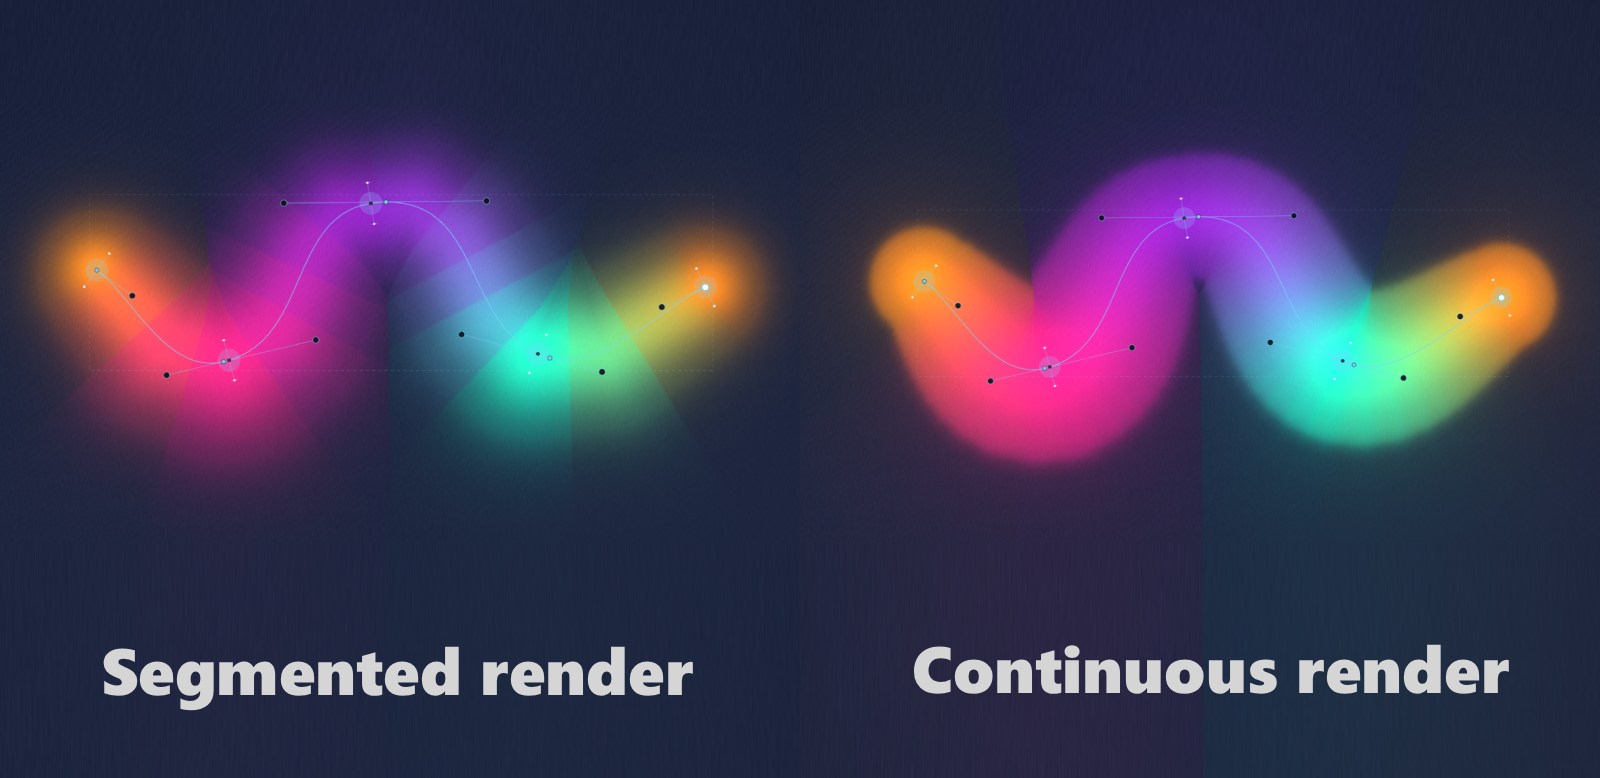
Render Styles
Paths can use different render styles to change their visual character. Some styles create smooth continuous forms. Others create segmented, graphic, or more structured results.
Object Layer
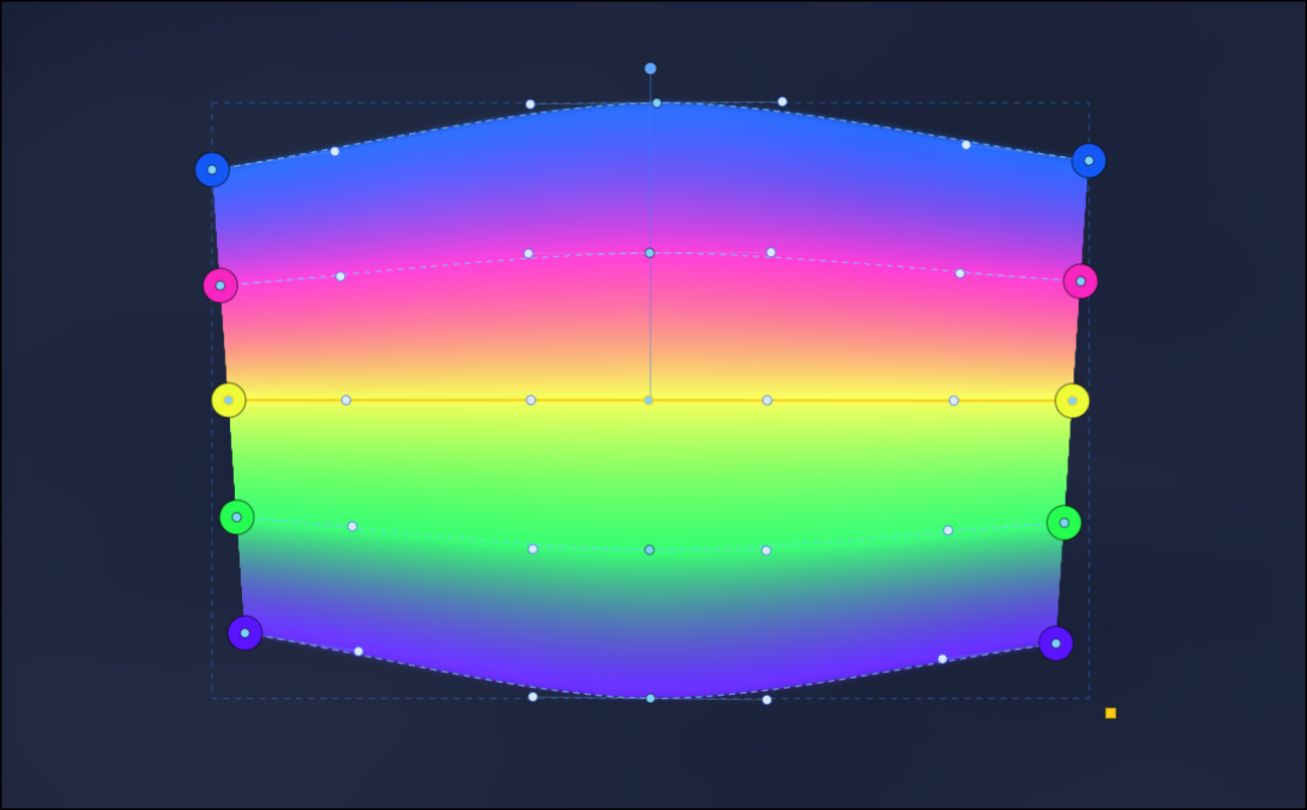
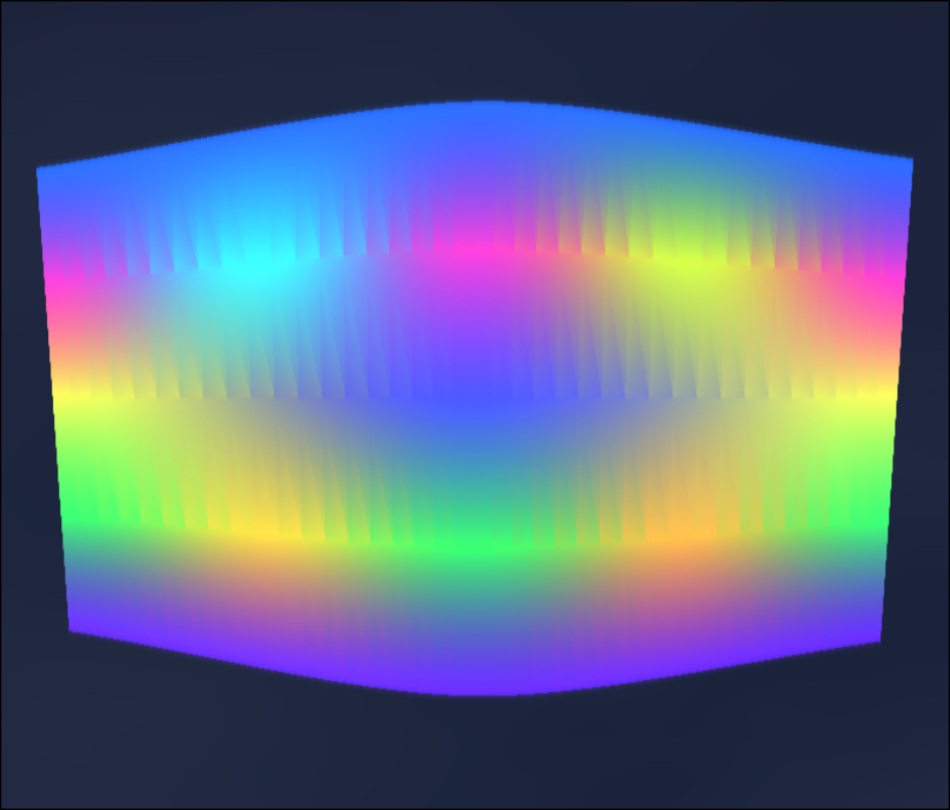
Gradient Patches
Gradient Patches are surface-like objects built from editable rails. They function as a flexible, rail-based form of mesh gradient. Instead of editing a rigid grid of mesh points, the surface is shaped through curves.
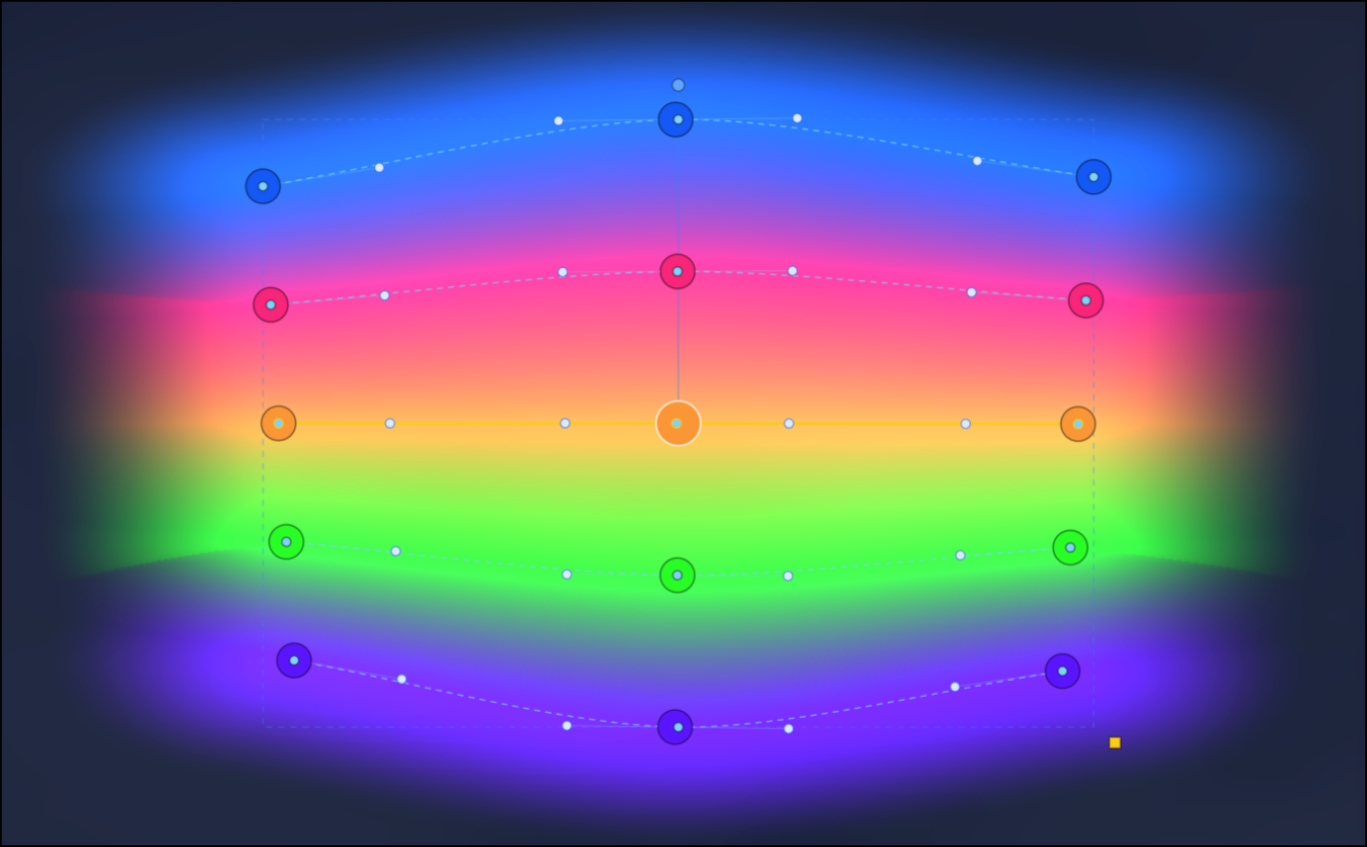
Rails
Rails are the main editable curves of a patch. A patch can contain multiple rails. The space between neighboring rails is used to create controlled color transitions, surfaces, or line fields.
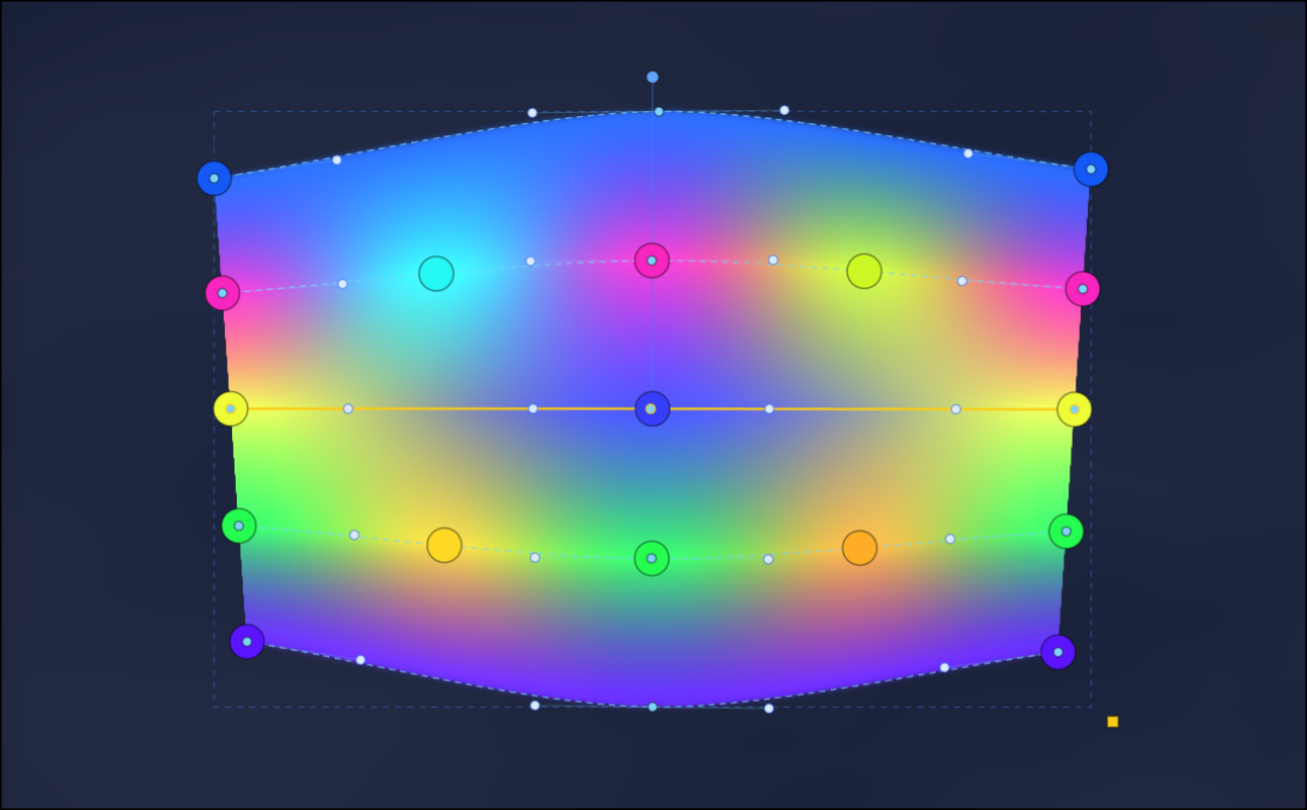
Power Points
Each rail can contain power points. Power points shape color, strength, and local behavior along the rail. Together, the rails and their power points define the visual structure of the patch.
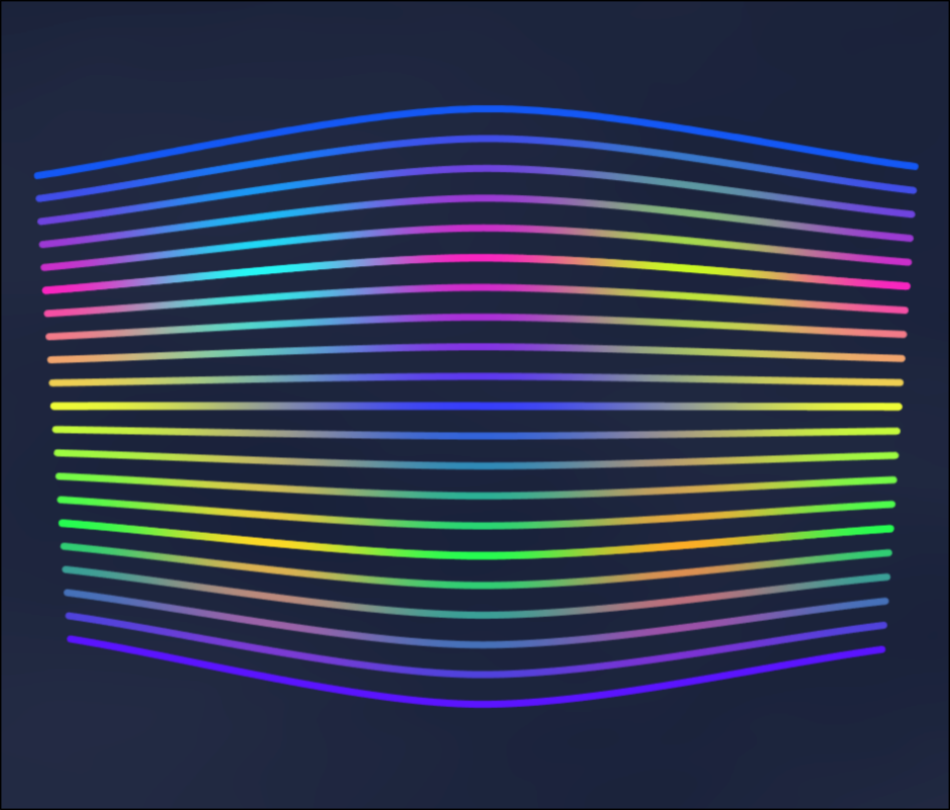
Render Modes
Gradient Patches can use different render modes. Smooth mode renders the patch as a continuous gradient surface. Faceted mode gives the surface a more segmented or angular structure. Lines mode renders interpolated curve lines between rails instead of filling the surface.
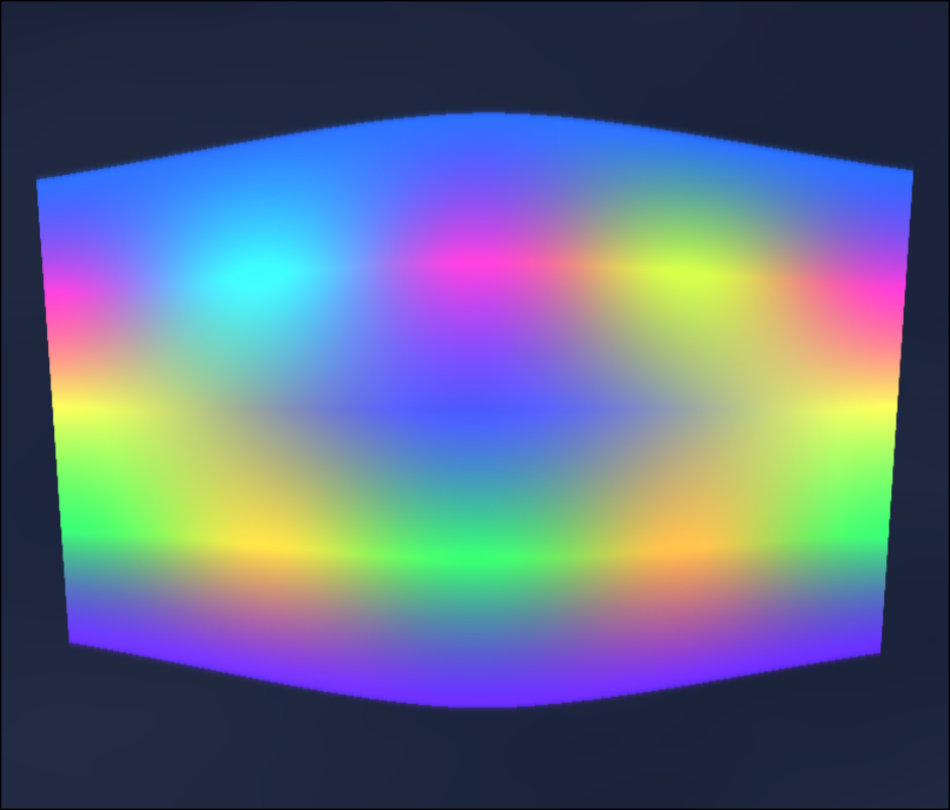
Falloff
Patch falloff softens the outer boundary of the rendered patch. At zero, the patch stays tightly bounded by its outer rails. Higher values create a softer edge around the patch.
Motion
Animation
Animation is a general capability of the system. Blobs, paths, and gradient patches can all be animated. Animation in Amorpher is not timeline-based. It runs as a cyclic loop, controlled through object settings and the main playback controls.
When Play is pressed, the animation loop starts running. When Pause is pressed, the scene stops at the current animation phase, but the original object data is still preserved. The settings panel continues to show the base values of the selected object, not necessarily the temporary animated values visible on the canvas at that paused phase.
To return animated objects to their original starting state, use Stop. To make the current animated phase become the object's new editable base state, use Bake.
- Blobs can move, drift, or cycle through motion settings.
- Paths can animate their points, power points, pattern-map behavior, and color cycling.
- Gradient Patches can animate rail points, power points, and color cycling.
Playback can be used as part of the creative process. A scene can be played, paused on an interesting frame, baked if needed, adjusted, and then exported or recorded.

Output
Recording Video
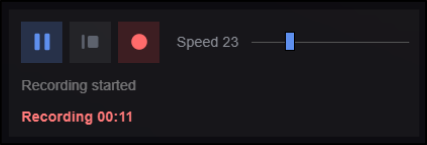
Amorpher can record the animated canvas as a video loop. Recording captures the current visual output of the canvas while the animation is running.
In the public alpha, video recording is limited to 60 seconds.
The recorded video is exported in WebM format. Canvas size, resolution, animation complexity, and browser performance can affect recording quality and speed.
Output and Files
Exporting, Saving, and Loading
A composition can be exported as a PNG image. Image export uses the current canvas format and resolution. This makes Page Settings important when preparing a final still image.
Exporting an image creates a final output file. It is different from saving the project.
Amorpher projects can be saved as editable project files. A project file stores the scene structure so it can be loaded later and edited again.
This is different from exporting an image or recording a video, which create final output files. Saving project files is recommended when developing a composition over time, testing variations, or preparing reusable presets.

Compatibility
Browser Compatibility
Amorpher requires WebGPU. For best compatibility, the latest versions of Chrome or Edge are recommended. Safari WebGPU support may vary by system and is currently experimental for Amorpher.
If Amorpher cannot start, the compatibility message may show where initialization failed. In that case, opening the app in Chrome or Edge is usually the best first test.